
Last updated September 20, 2026
Full 25-point door and opener safety check with every visit - springs, cables, rollers, tracks, and your LiftMaster or Chamberlain opener included
You get a price before we start. It does not change when the truck arrives.
 Before
 After
After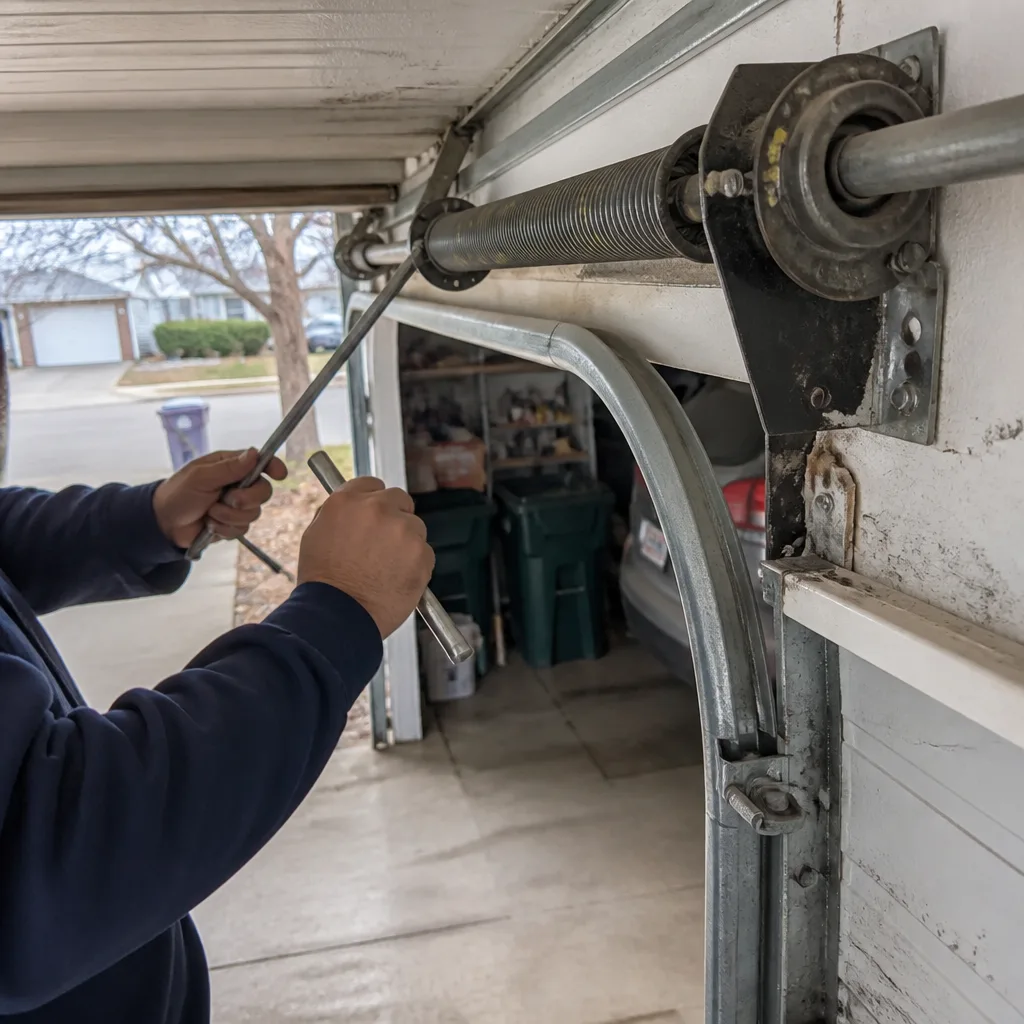 Before
 After
After Before
 After
AfterGarage Door Warning Signs: A Longmont Homeowner’s Reference Guide
Here is a number most Longmont homeowners never hear: a standard residential garage door weighs between 130 and 400 pounds. Yours is likely in the middle of that range, and it cycles open and closed roughly 1,500 times a year. That means every twelve months, your door moves somewhere around 375,000 pounds of steel, insulation, and glass. Most warning signs are not random failures. They are specific components reporting fatigue, and almost all of them give audible or visible notice weeks before they actually let go. This guide sorts those signs by urgency, names the part that is failing, and tells you what to photograph before you call anyone, so you are not making an emergency out of a maintenance item or scheduling a routine appointment for something that is dangerous today. For a broader overview, see our The Complete Guide to Garage Door in Longmont.
Quick Answer
The warning signs that matter on a garage door in Longmont fall into three urgency tiers. A grinding noise, a visibly frayed cable, a door that hangs crooked, or a snapped torsion spring means stop using the door and call for same-day service. A door that is slow in one spot, slightly noisy, or leaving small metal shavings on the track can wait 72 hours for a scheduled appointment. A door that creaks in cold weather or shows light rusting should be monitored and addressed at your next regular service visit. The single most useful diagnostic step you can take before calling anyone is to disengage the opener and hand-test the door’s balance.
Table of Contents
- Tier 1: Stop Using the Door Now
- Tier 2: Schedule Within 72 Hours
- Tier 3: Monitor and Plan
- How a Torsion Spring Fails: The Sound and the Signature
- Cables, Drums, and the Crooked Door
- Rollers, Hinges, and Track Wear: Identifying What You Are Hearing
- Why Longmont’s Temperature Range Causes False Positives
- The Manual-Operation Test: A Safe Diagnostic Before You Call
- What to Photograph and Measure Before the Technician Arrives
- Common Mistakes to Avoid
- When to Call a Professional
- Frequently Asked Questions
- The Bottom Line
BeforeAfterTier 1: Stop Using the Door Now
These four symptoms mean the door is under load from a component that has already failed or is within hours of failing. Continuing to operate the door can cause secondary damage that turns a $300 repair into a $1,200 replacement, and in the case of a snapped cable or spring, the door can fall without warning.
- A sharp bang from inside the garage, like a firecracker or a heavy book dropped on concrete. That is the sound of a torsion spring snapping. The door will not lift correctly afterward, or will lift only a few inches. Do not attempt to raise it. A snapped spring means the full weight of the door is now resting on the opener, which is not designed to carry it.
- Visible fraying or a broken strand on either lift cable. The cables are the two steel wires running vertically along each side of the door, wound onto drums at the top. When strands begin to separate, the cable has lost most of its rated strength. It can part while the door is mid-cycle, and the door will drop on the unbalanced side.
- The door hangs visibly crooked when closed, or one side sits two or more inches higher than the other. This is asymmetric load. Either a spring has lost tension on one side, a cable has slipped its drum, or a roller has left the track. Each cause gets worse with every cycle.
- The door reverses immediately after touching the floor, every time, and the safety sensors are clean and aligned. In Longmont we see this pattern often, and it is frequently misdiagnosed as a sensor issue. It can mean the torsion spring has lost enough tension that the door’s weight distribution has changed, and the opener’s force settings are now reading the closing door as an obstruction. A door that reverses before hitting the floor is not always a sensor problem. It is sometimes a spring problem announced through the opener’s behavior.
If you are seeing any of these four signs, stop using the door. Use the pedestrian door into the garage instead. Call for same-day service, and tell the dispatcher exactly what you observed: the bang, the frayed cable, the side that sits high. That information determines which parts go on the truck.
Tier 2: Schedule Within 72 Hours
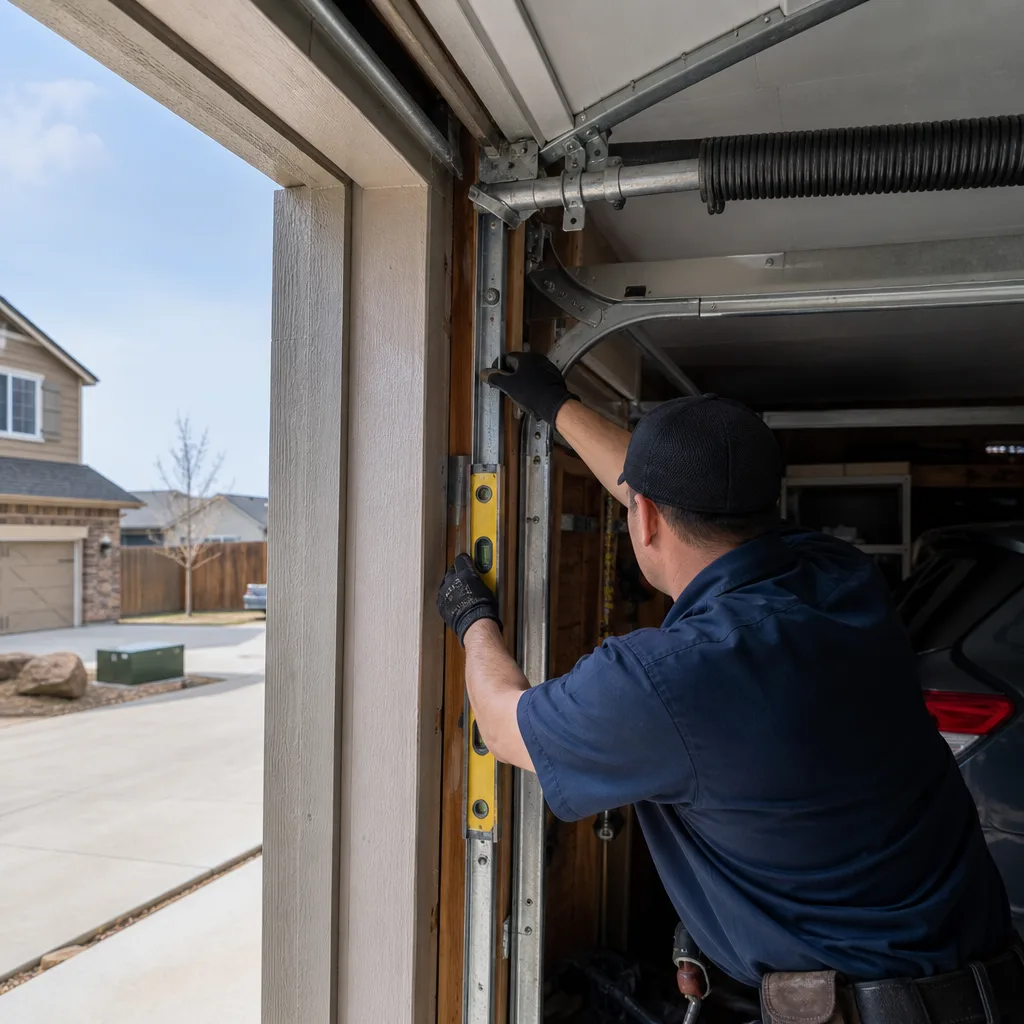
These symptoms indicate a component that is wearing faster than normal but has not yet failed. You have a short window before the problem escalates into a Tier 1 condition, and scheduling now costs less than the emergency call later.
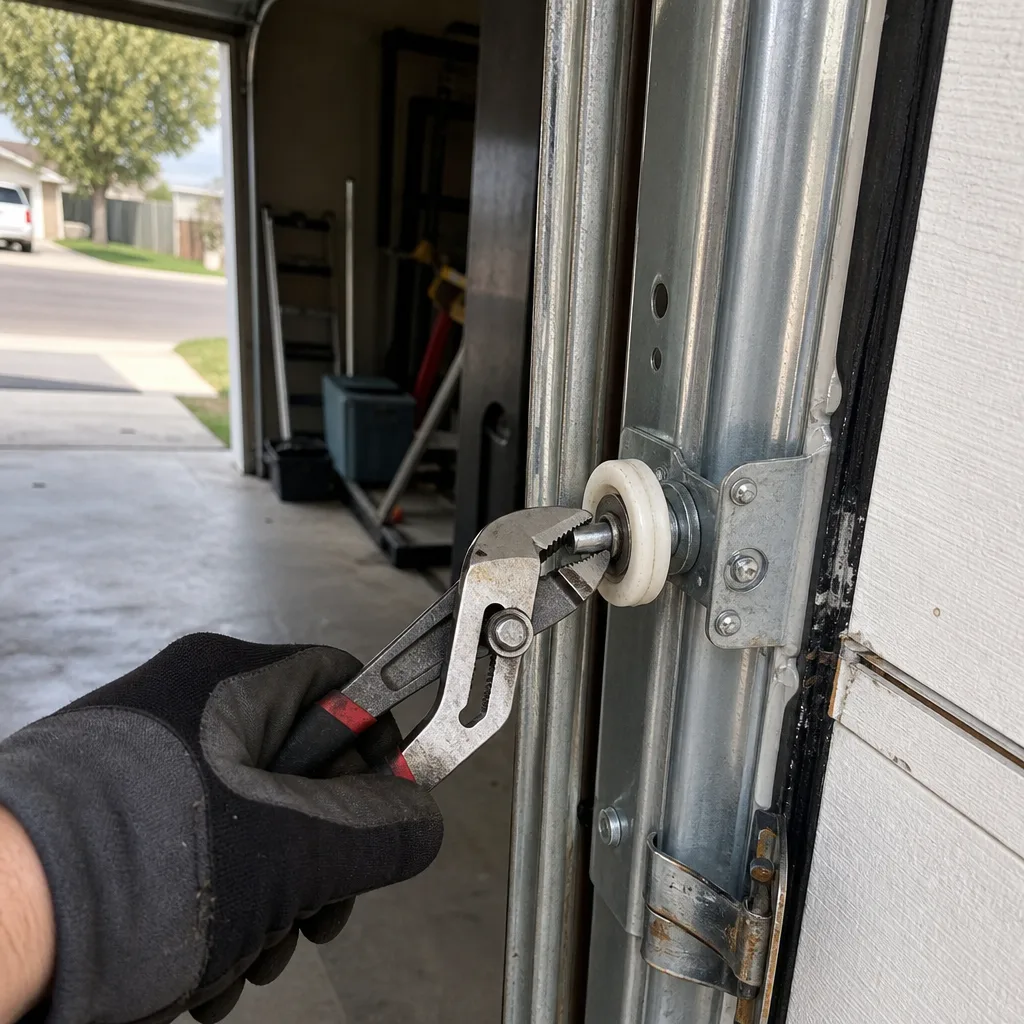
- A grinding or metallic scraping noise that tracks with door movement. This is most often a roller with a seized bearing, now sliding along the track instead of rolling. The roller is wearing a flat spot into itself and grinding the track at the same time. Left alone, the roller can bind hard enough to pull the door out of alignment.
- Small piles of metal shavings or black dust at the base of the vertical tracks. The shavings are track or roller material being machined off during operation. The black dust is often the residue of a nylon roller that has worn through to its core. Both mean the rolling surfaces are actively degrading.
- A rhythmic thumping or lurching as the door moves, especially in one specific spot. This is frequently a section hinge with a worn pin, a roller that has developed a flat spot, or a dent in the track. The door momentarily catches and releases at the same point in every cycle.
- The door moves noticeably slower in one direction than the other. On an opener-driven door, this can indicate a logic board that is beginning to fail, a motor capacitor losing capacity, or increasing mechanical resistance from dry rollers and hinges. If the door is quiet but slow in January, see the temperature section below before assuming the worst.
- Vibration you can feel through the wall when the door runs. This is out-of-balance operation. The door’s weight is no longer evenly distributed between the two lift cables, and the opener is working against the imbalance on every cycle.
Our recommendation for Tier 2 conditions in Longmont is to schedule a service call within three days. In our experience, most Tier 2 symptoms cross into Tier 1 within two to four weeks of appearing, and the repair cost roughly doubles when that happens.
Tier 3: Monitor and Plan
Some signs look alarming but are normal wear signatures or environmental responses that do not require immediate action. These can be monitored and addressed on a schedule that suits you, as long as the symptoms do not change character.
- A creaking or groaning sound in cold weather that disappears when temperatures rise above freezing. Longmont winters drop below 10°F routinely, and garage door lubricant thickens significantly at those temperatures. Hinges and springs that were quiet in October can groan in February. This is viscosity, not metal fatigue, and it usually resolves on its own. If the sound persists into May, that is mechanical wear, not cold.
- Light surface rust on hinges, brackets, or the bottom of the door panels. Longmont’s dry climate keeps rust progression slow compared to humid regions, but road salt tracked in during winter can accelerate it on the bottom panel. Light rust can be cleaned and treated with a rust converter. Pitting or flaking that has eaten through the metal is a different story and should be evaluated.
- A door that reverses occasionally, once every ten or twenty cycles, with no other symptoms. This can be a sensor alignment drift caused by vibration, a low remote battery sending an intermittent signal, or a sun-angle issue if the door faces west and the sensors are struck by direct afternoon light. Clean the sensor lenses and check alignment before calling anyone. If the frequency increases, escalate to Tier 2.
- Increasing noise over a period of years, not weeks. Every garage door gets louder as bearings wear and lubrication breaks down. A slow, gradual increase in volume over three to five years is normal aging. A step-change in noise from one week to the next is a specific failure announcing itself.
The distinction between Tier 3 and Tier 2 is the rate of change. If a symptom is stable, you can plan around it. If it is getting worse every time you open the door, you are on a schedule that the component controls, not you.
How a Torsion Spring Fails: The Sound and the Signature
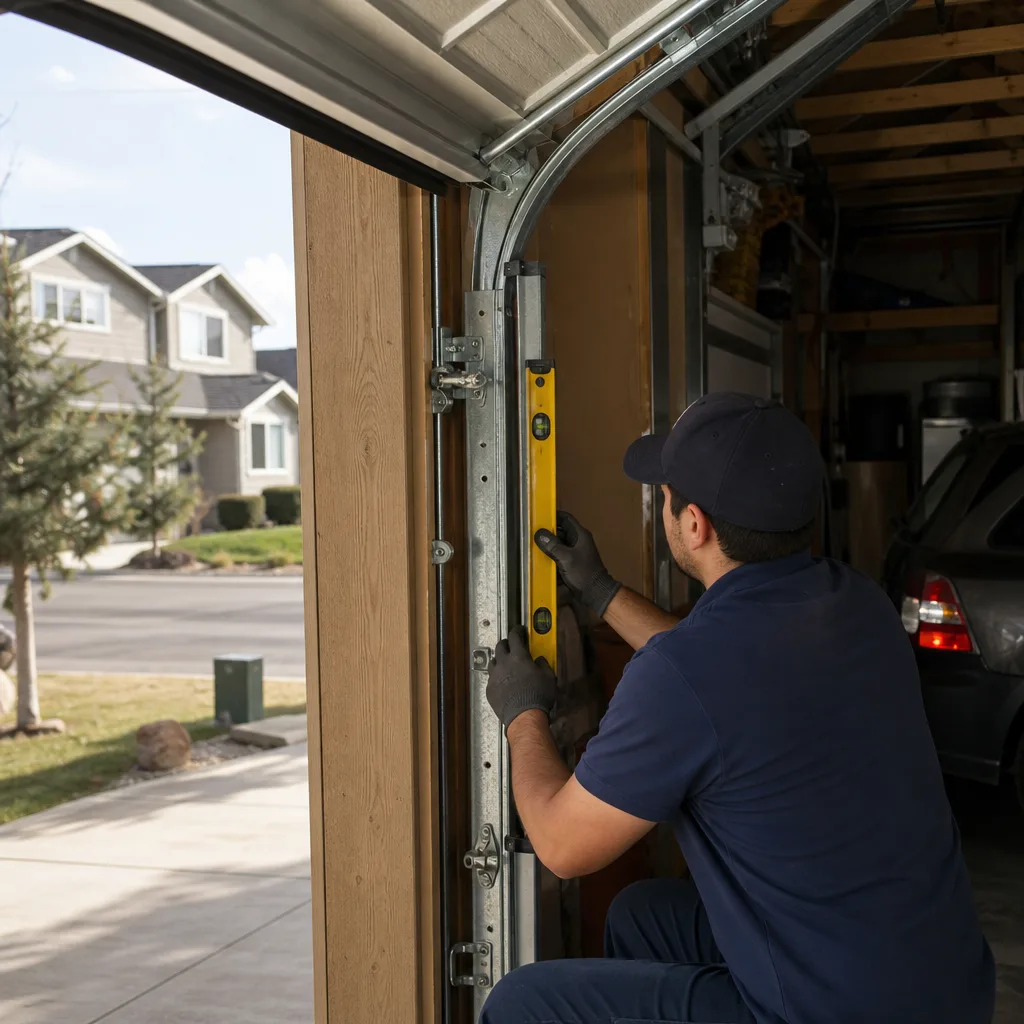
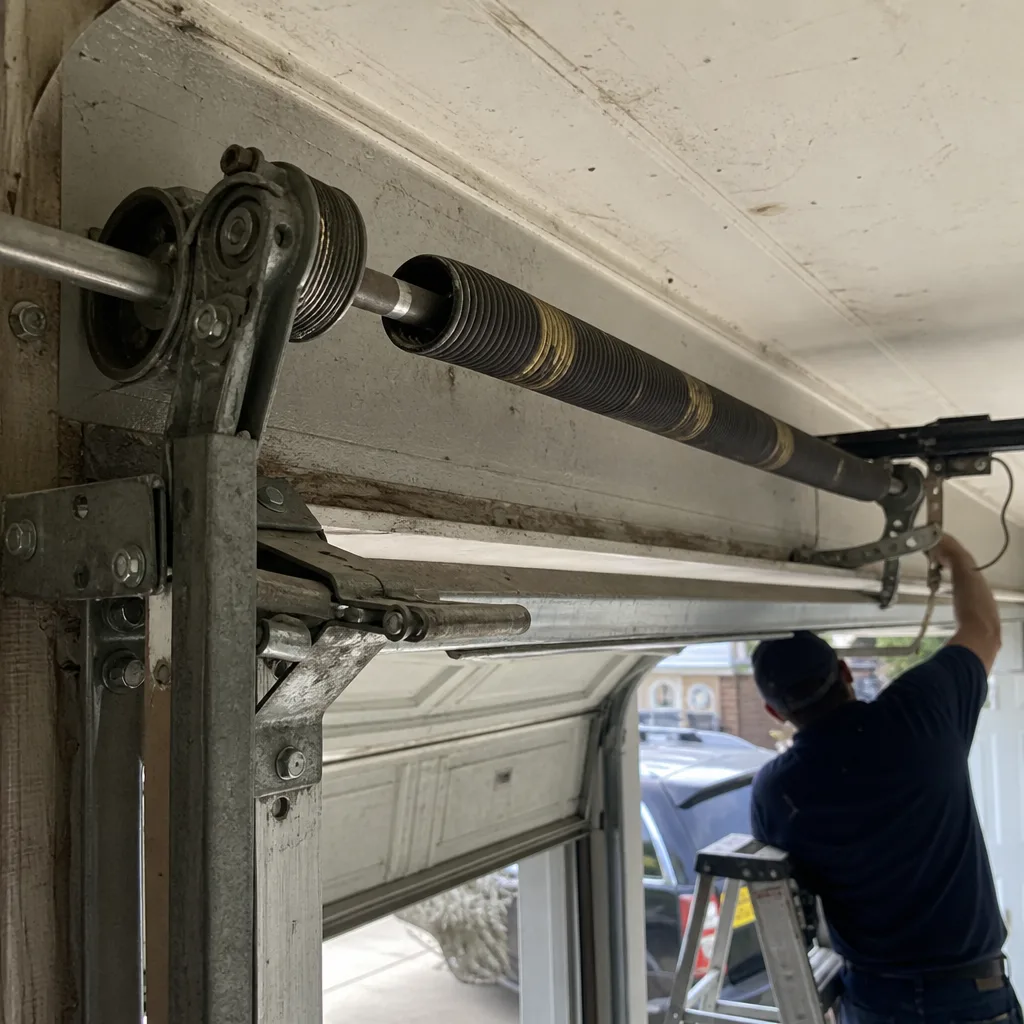
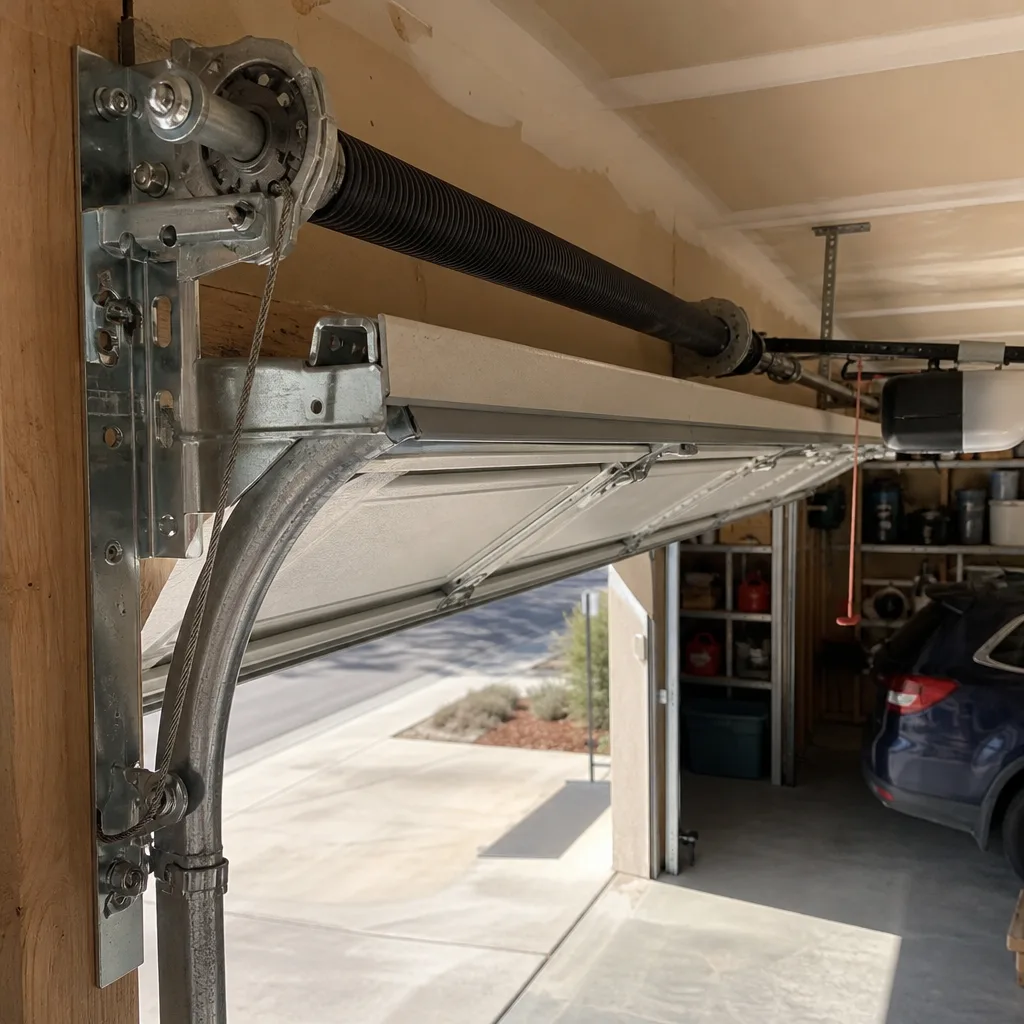
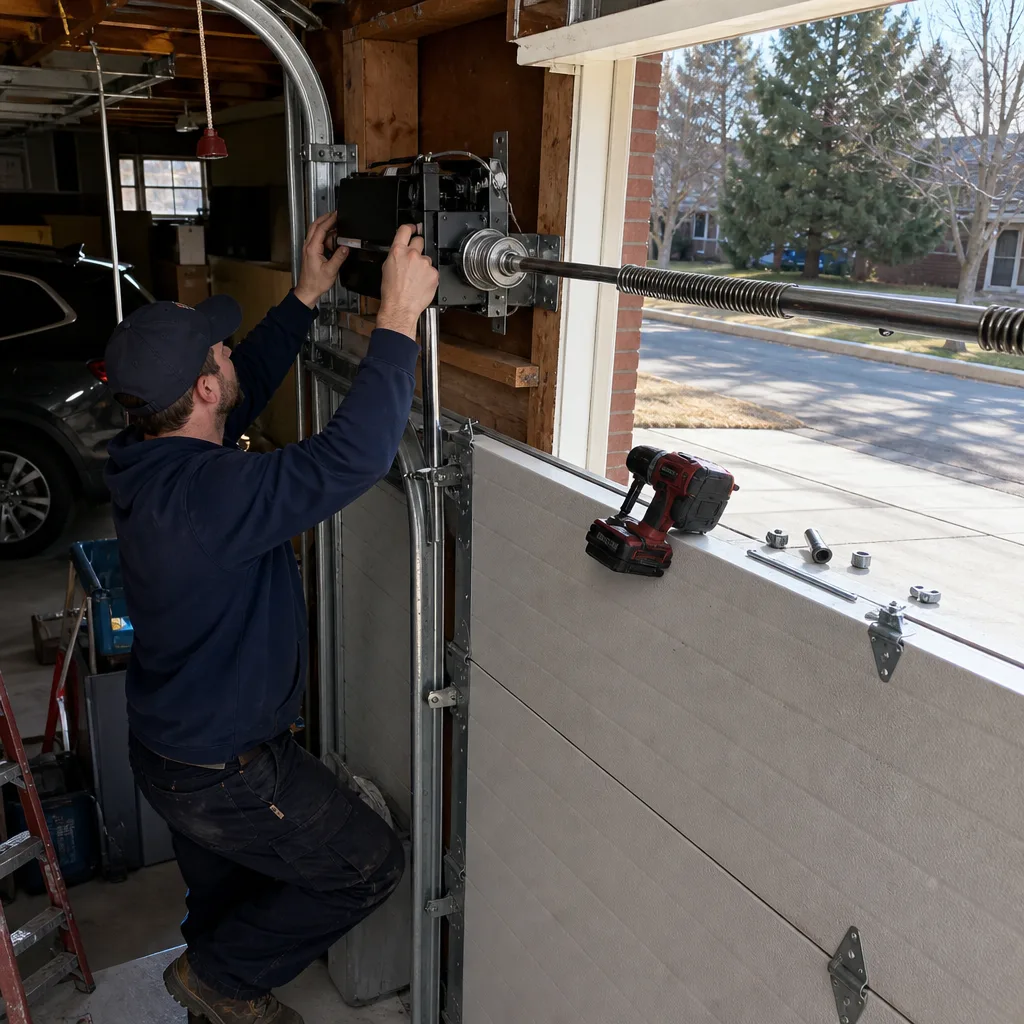
A torsion spring is the steel coil mounted horizontally above the door opening. It stores the mechanical energy that counterbalances the door’s weight, which is why the door feels light when you lift it manually. Most residential torsion springs are rated for 10,000 cycles. If your door opens and closes four times a day, that rating works out to roughly seven years. Longmont homeowners who park in their garage and use it as a daily entrance put more cycles on their springs than anyone realizes.
The failure signature is consistent. The spring snaps at a point of stress concentration, usually where the coil meets the winding cone. The sound is a sharp report, frequently described as a gunshot or a car backfiring. If you were inside the house when it happened, you heard it. If you were not home, you will know the moment you try to lift the door and it either will not move or the opener strains and stalls.
There are two visual signatures to look for after a suspected spring failure. First, look at the spring itself: a snapped torsion spring will show a visible gap in the coil, usually a two to four inch separation at the break point. Second, look at the door’s behavior: a door with a broken spring will not stay up when raised manually. It drops back down or feels dead-heavy from the first inch of lift.
One detail that matters for quoting: the wire diameter and the spring’s inside diameter determine both the replacement part and the labor. A standard residential torsion spring in Longmont typically runs 0.218 to 0.250 inches in wire diameter for a seven-foot door, with heavier doors requiring proportionally stronger springs. This is why we ask for a photo of the spring and the door before we quote a replacement. The photo tells us the spring’s wind direction, its mounting style, and the approximate cycle rating, which determines whether we recommend the standard spring or a high-cycle upgrade.
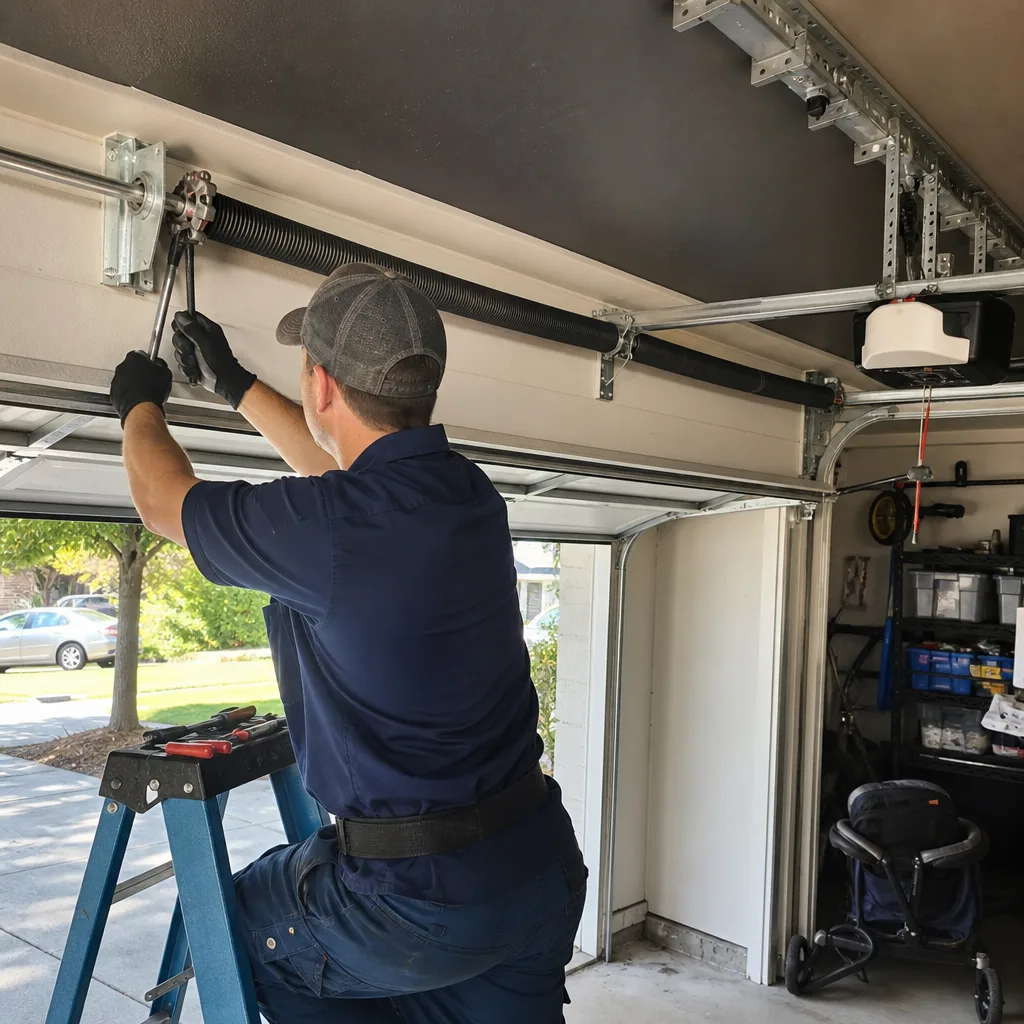
Safety note: torsion springs are under tremendous tension even when the door is closed. A spring that has not snapped is storing enough energy to cause serious injury if it is adjusted or removed incorrectly. Spring replacement is not a DIY project. A trained technician uses purpose-built winding bars and follows a specific sequence for releasing and reapplying tension.
If you need garage door repair in Longmont after a spring failure, we carry torsion springs for all eight major brands on the truck, and we quote the replacement price in writing before any work begins.
Cables, Drums, and the Crooked Door
The lift cables are what physically connect the door to the spring system. Each cable runs from a bottom bracket on the door, up the side, and wraps onto a drum mounted on the torsion shaft. When the spring lifts the door, the cables transfer that lifting force to the bottom corners. When the door closes, the cables remain under tension the entire time.
Cable failures announce themselves in three ways. First, visual fraying: individual steel strands begin to separate from the cable body, usually near the bottom bracket where the cable sees the most stress. Second, a door that is visibly crooked or that binds on one side during travel: this happens when a cable has slipped the drum groove and is now winding unevenly, or when a cable has stretched enough to change the door’s geometry. Third, a cable that has completely parted: in this case the door will hang severely crooked, often jammed, and should not be moved.
Cables and drums are a paired system, and a cable that has frayed has frequently been damaged by a drum that is not tracking correctly. The drum groove wears over time, particularly if the door has ever been operated with a broken spring, which puts uneven load on the cable wraps. We have seen doors in Longmont where the cable showed heavy fraying after just two years because the drum groove had worn sharp and was acting as a cutting edge on every cycle.
There is another failure mode worth knowing about: cable slack. If the door is closed and one cable has visible slack, it means the spring tension on that side is insufficient to keep the cable taut. The cable is not yet damaged, but it is mounted to a door that is operating out of balance. The slack cable can jump the drum on the next cycle, and once off the drum, it can wrap around the shaft or bind in the track. If you see slack in a cable with the door closed, treat it as Tier 1. The door is a few cycles away from a jammed, crooked condition.
A door that has come off its track in Longmont usually starts with a cable problem. The sequence we see most often in the field: a spring loses tension, the door goes out of balance, one cable takes more load than the other, the overloaded cable stretches or frays, and then the door walks off the track as the rollers lose their guide. Catching the cable issue early interrupts that chain.
Rollers, Hinges, and Track Wear: Identifying What You Are Hearing
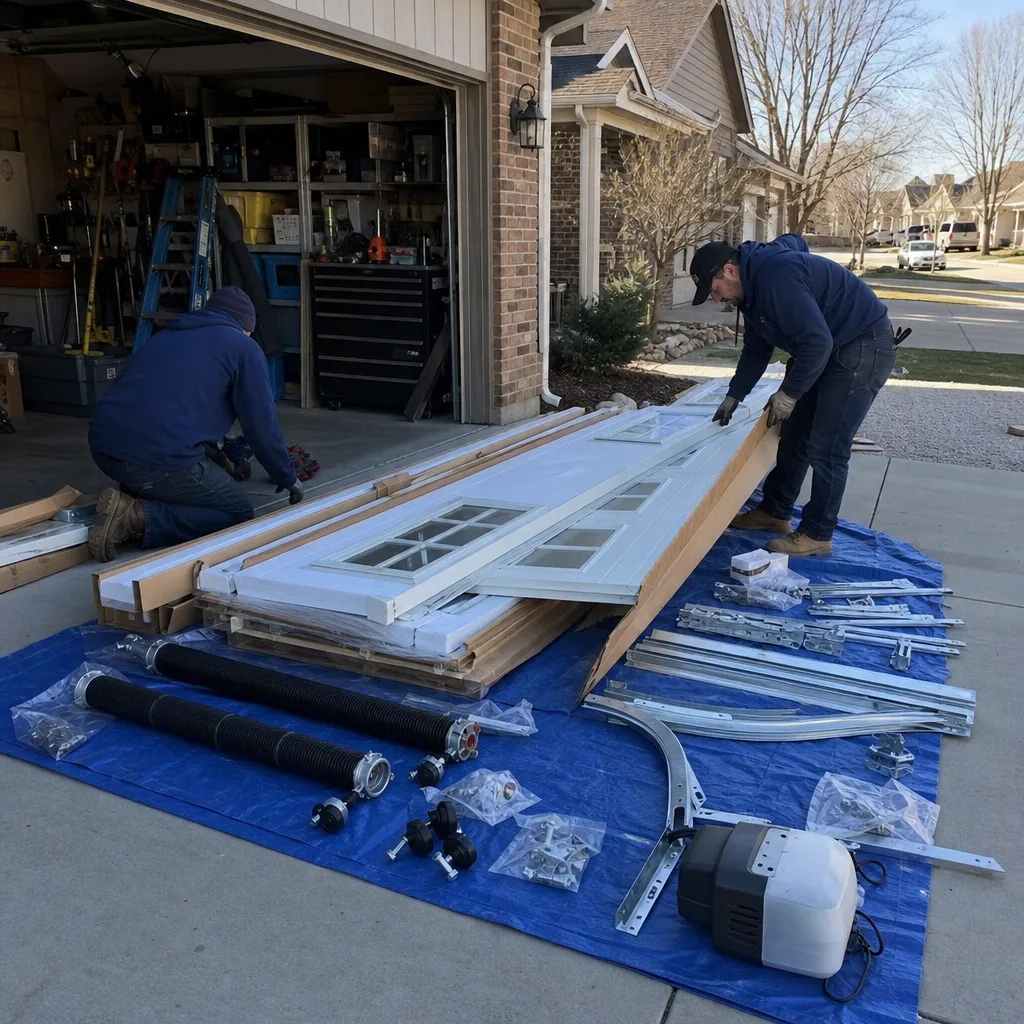
Most garage door noises fall into one of three categories, and each points to a different component. The categories are useful because they let you describe the problem over the phone accurately enough for us to bring the right parts on the first trip.
Rollers. A roller is a wheel that rides inside the track, mounted on a stem that attaches to a hinge. Residential rollers are either steel, steel with nylon tires, or all-nylon. When a roller’s bearing wears out, the wheel stops rotating freely and begins to slide along the track. The sound is a grinding or scraping that tracks with door movement, and it often changes pitch as the roller passes a particular point in the track. Worn rollers are visible: spin them by hand with the door closed and you can often feel roughness or see a flat spot on the tire. A roller that is no longer round is scraping, not rolling.
Hinges. Sectional doors have hinges at every joint, and the bottom most hinges carry the most load. When a hinge pin wears, or the hinge plate begins to work loose from the door section, the door develops a rhythmic thump or shift at that joint. The sound is lower-pitched than a roller grind, more of a knock than a scrape. Loose hinges can be seen by watching the joints while the door runs: a hinge with play will show visible movement between the sections. Tightening hinge bolts is a maintenance item. Replacing a hinge with an ovaled-out pin hole is a repair.
Track. The track is the formed steel channel that guides the rollers. Track problems produce two signatures. A dent or bend in the track causes the door to lurch or hesitate at a specific point in the cycle, the same place every time. A track that has shifted out of alignment produces sustained friction, often a squeal or a dragging sound through a longer section of travel. In Longmont’s freeze-thaw cycles, track brackets can work loose from the framing over years, and the track slowly drifts out of parallel with the door. A door that was quiet when installed and is now noisy after several winters often has a track-alignment issue rather than a component failure.
When we evaluate noise complaints, we listen first, then disengage the opener and run the door by hand. The manual test isolates the door’s moving parts from the opener, which tells us immediately whether the noise is coming from the rollers and hinges or from the motor and trolley.
Why Longmont’s Temperature Range Causes False Positives
Longmont’s climate creates diagnostic confusion that warmer cities do not have. The temperature swings here routinely exceed 40 degrees in a single winter day, from single digits overnight to the 50s by afternoon. Those swings change how every lubricated component behaves, and they can make a healthy door look like a failing one.
The most common false positive is the slow door in January. A door that moves noticeably slower in cold weather is usually experiencing lubricant viscosity, not motor wear. The grease in the opener’s drive rail, the oil in the roller bearings, and the lubricant on the spring all thicken as temperature drops. A door that takes four seconds longer to open at 5°F than at 65°F is behaving normally. The same door with a genuinely failing motor capacitor will be slow in all temperatures, and will usually show other signs: a humming sound before movement starts, a hesitation at the beginning of the cycle, or an opener that trips its thermal overload more often.
The second false positive is the cold-weather creak. Metal contracts when it cools, and the contraction changes the clearance between moving parts. Hinges that are quiet in summer can creak in February because the pin-to-plate clearance has tightened. A creak that appears below freezing and disappears above it is not a repair condition. A creak that persists in July is wear.
The third false positive we see in Longmont specifically is the west-facing door that reverses in the afternoon. Late-day sun angles in fall and spring can strike the photo-eye sensors directly, overwhelming the receiver with infrared light and causing a false obstruction reading. The door reverses, the homeowner assumes a mechanical problem, and the actual fix is a sensor shade or a simple realignment. If your door only misbehaves at a specific time of day, check which direction the sun is hitting the sensors.
None of this is to say that cold-weather symptoms should be ignored. A door that is slow in January and also grinding in March has two problems, not one. The point is to read the symptom in context. A door that only misbehaves when the thermometer is below 20°F is probably a lubrication and temperature issue. A door that misbehaves at 70°F is a mechanical problem.
The Manual-Operation Test: A Safe Diagnostic Before You Call
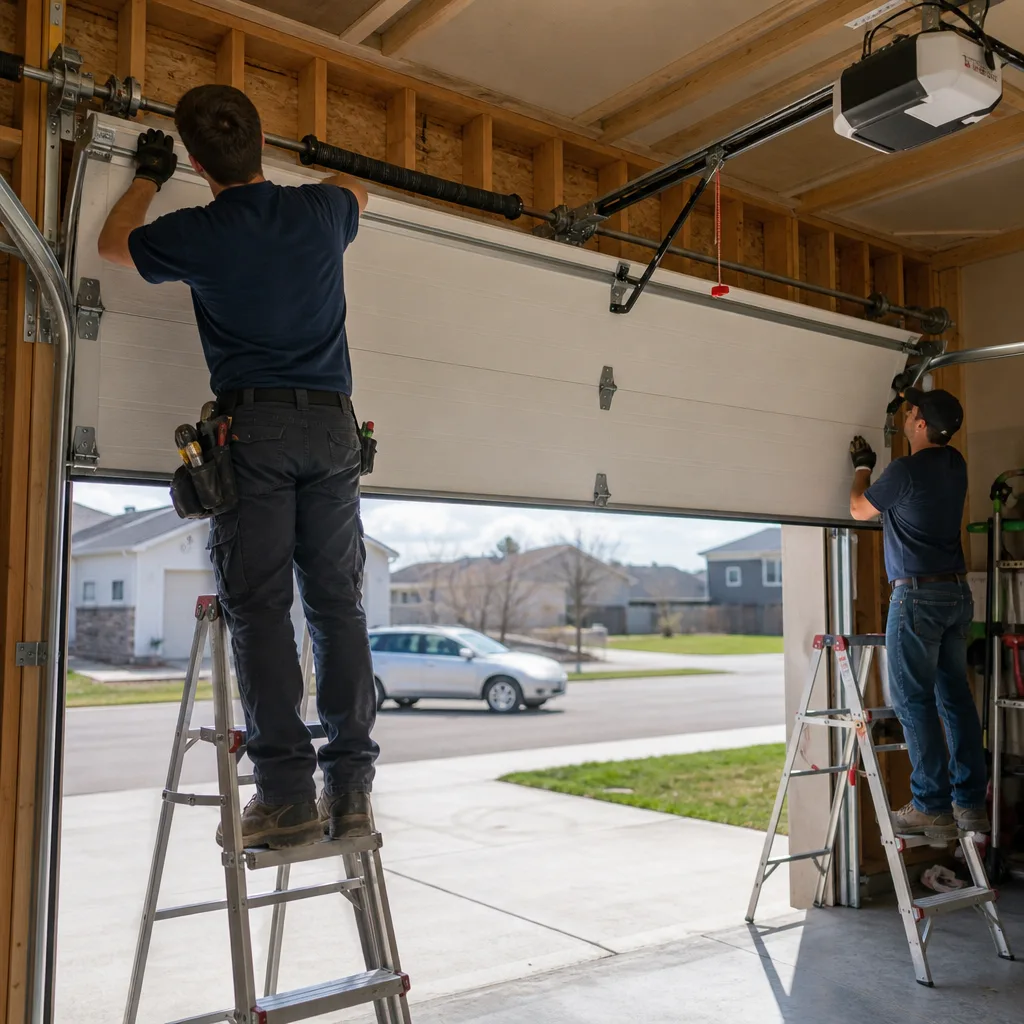
This is the single most useful test you can perform before calling a garage door technician, and it takes about three minutes. It isolates the door itself from the opener, which tells you whether the problem is in the door’s balance or in the motorized system.
- Close the door completely. Pull the emergency release handle, which is the red cord hanging from the trolley on the opener rail. Pull straight down. You will hear a click and the trolley will disengage from the carriage. The door is now in manual mode.
- Lift the door by the handle or bottom edge, not by the emergency cord. Lift it to about waist height and let go. A properly balanced door will stay at that height or drift only slightly. A door that drops quickly is under-sprung: the springs are not providing enough lift, and the opener has been compensating. A door that shoots upward is over-sprung.
- Run the door through its full travel by hand, going slowly. Feel for resistance points, catch points, or any section where the door wants to bind. Listen for grinding, scraping, or clicking that you can now attribute to the door rather than the opener. If the door is difficult to move or feels heavier than it should, that is balance information, not noise information.
- Reconnect the opener. Pull the emergency release handle again, or run the opener through a full cycle until the trolley re-engages with the carriage. You will hear a click when it locks back in.
Two safety notes. First, never perform this test with the door fully open, and never release the opener while the door is moving. Release only at the closed position. Second, if you attempt this test and the door cannot be lifted manually at all, or drops hard when you let go, do not try to force it. A door that behaves this way has a spring failure or a cable problem, and forcing it can cause the door to come down hard.
The result of this test gives a technician useful information before arriving. “The door sags and drops when manually lifted” points to a spring or cable condition. “The door balances fine by hand but the opener strains” points to the opener’s motor, gear, or logic board. That distinction determines whether the truck needs spring stock or opener parts.
What to Photograph and Measure Before the Technician Arrives
Here is where the documentation habit pays off. A photo of the right components, taken before the technician arrives, lets us quote the job accurately over the phone, name the parts that will go on the truck, and give you a written price before we walk in the door. That is Clause 1 of The Haven Standard: a flat, written price and written scope before any work begins. Photos make that possible on the first call.
What to photograph:
- The spring, from directly underneath and from the side. If it has snapped, the gap in the coil will be visible. If it is intact, the photos show us the mounting style, the wind direction, and the approximate size.
- Each lift cable, from the bottom bracket up to the drum. Focus on the cable as it enters the bottom bracket, where fraying typically starts. A clear photo shows whether strands are separating.
- The full door, closed, from inside the garage. A straight-on photo shows whether the door is sitting level and whether there is any visible gap between the door and the floor on either side.
- The track on both sides, from about halfway up. This shows us whether the track is straight, whether the rollers are seated, and whether there are any visible dents or bends.
- Any visible damage: dents in panels, torn weatherstripping, broken hinges, worn rollers. If you can see it, photograph it.
What to measure:
- The door width and height. Standard Longmont garage doors are 8×7 feet or 9×7 feet for single doors, 16×7 feet for doubles, but custom sizes exist. Knowing the dimensions confirms the spring rating needed.
- The spring’s wire diameter and inside diameter, if you have calipers. This is the measurement that most accurately identifies the replacement spring. If you do not have calipers, photograph the spring next to a coin for scale.
- The track radius, if the door is in a low-headroom configuration. Some Longmont homes from the 1960s and 1970s have low-headroom tracks that require different hardware than standard-radius tracks.
This is not busywork. The founding rule of Servo Garage Doors, going back to 2015, is that the customer sees the failed part before anyone quotes a replacement. We have codified that as Clause 4 of The Haven Standard: the technician photographs the failed component before quoting the replacement, so the quote is backed by evidence, not assertion. When you send photos ahead of the visit, you are getting that same standard applied before we even arrive.
Common Mistakes to Avoid
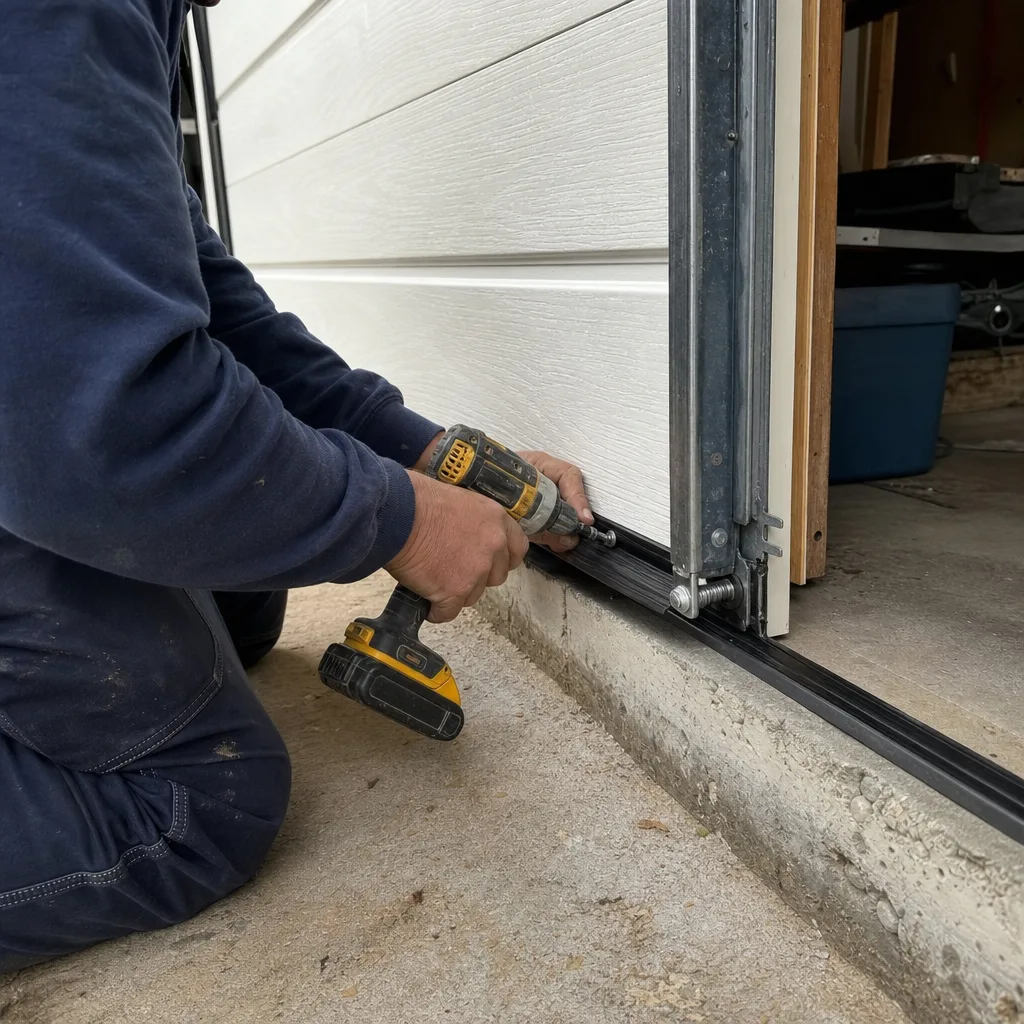
- Spraying penetrating oil into the spring and hinges to quiet a noise. Penetrating oil displaces the existing grease without replacing it, and it attracts dust that accelerates wear. Use a proper garage door lubricant designed for the application, or leave lubrication to a service visit.
- Adjusting the torsion spring tension yourself. This is the most dangerous DIY task in a residential home, and that is not exaggeration. The winding cones on a standard spring hold enough stored energy to cause severe injury if a winding bar slips. We have been asked to repair damage from failed DIY attempts in Longmont, and the repairs always cost more than the original service call would have.
- Replacing one spring on a two-spring door. Both springs have the same cycle rating and have been cycled the same number of times. A new spring paired with a worn spring produces uneven lift, which wears the new spring prematurely and keeps the door out of balance. Replace both.
- Ignoring a frayed cable because the door still opens. The cable is a steel tension member. Once strands begin to separate, the remaining strands are carrying more than their rated load. The cable will part, and when it does, the door will drop on that side. Fraying is a same-day repair, not a monitoring item.
- Continuing to use the opener after a spring snaps. The opener’s motor and gear are not designed to lift the full weight of the door unassisted. Running the opener on a broken spring burns out the gear or the motor, and now you have two repairs instead of one.
- Treating a reversing door as nothing but a sensor alignment issue, every time. Clean the sensors and check alignment first, yes. But if the door still reverses after the sensors are verified clean and aligned, the opener’s force settings are detecting something real. The most common underlying cause we find in Longmont is a spring that has lost tension and is changing the door’s closing behavior.
- Waiting until a noisy door fails completely before scheduling service. Most Tier 2 symptoms are cheap to fix and predictable to diagnose. Once the component fails, the repair involves more parts, more labor, and more urgency. A $90 roller replacement becomes a $400 track repair when the roller finally seizes and bends the track.
When to Call a Professional
Any Tier 1 symptom means call now, not tomorrow. A snapped spring, a frayed cable, a door that hangs crooked, or a door that will not balance when manually tested are all conditions that can cause the door to fall or jam without warning. The door is no longer a convenience, it is a hazard, and it is a hazard located over your cars and possibly your children’s bicycles.
Tier 2 symptoms can wait a few days, but not indefinitely. Schedule the appointment before the symptom escalates, and bring the photos and measurements described above so the first call produces an accurate quote. For any written estimate you receive from another company, bring it in for a free second opinion. No coupon or code required, and the comparison usually takes about fifteen minutes.
Servo Garage Doors Longmont offers free estimates for all repair and replacement work in Longmont, and our technicians arrive with the parts loaded based on what you described and photographed. Call (970) 528-5851 for a free estimate, any hour, any day.
Frequently Asked Questions
Garage door spring replacement in Longmont typically costs between $220 and $380 for a standard two-spring replacement on a seven-foot residential door, including parts and labor. The range varies based on the spring’s wire diameter, the cycle rating of the replacement spring, and whether the door is single or double width. We provide a written price before any work starts, per Clause 1 of The Haven Standard, so the number you are quoted is the number you pay. Call (970) 528-5851 with your door dimensions and spring photos for an exact quote.
Yes. We carry torsion springs, cables, rollers, hinges, and opener parts for all eight major brands on the truck, and our Longmont service area is scheduled for same-day repair availability on Tier 1 conditions. We service LiftMaster, Chamberlain, Genie, Clopay, Amarr, Wayne Dalton, Craftsman, and Raynor doors. Call (970) 528-5851 and describe the symptom; the parts for the most common repairs in Longmont are already on the truck.
No. The price we quote before the technician arrives is the flat, written price for the scope described, and if the technician finds something additional, that additional work is quoted separately in writing before anything else is done. There is no discovery-based pricing on the job site. This is Clause 1 of The Haven Standard, and it applies to every visit without exception. You will always see a written price and written scope before work begins.
We carry a full stock of torsion springs in common residential sizes, lift cables, rollers, hinges, brackets, and opener components for the brands we service. Because we ask for photos and measurements before dispatching, the technician usually arrives with the specific part your door needs. If a specialty part is required, we quote it, order it, and schedule the install for a set time rather than leaving you with a door that does not work and an open-ended timeline.
Cold weather changes the viscosity of lubricants and the clearance between metal parts, which is why many Longmont homeowners only notice noise or slow operation in winter. If the issue disappears when temperatures rise above freezing, it is usually a lubrication issue rather than mechanical wear. If it persists through warmer weather, the component itself is wearing. The diagnostic question to ask is whether the symptom is temperature-dependent or constant.
Most doors are repairable. A replacement makes sense when the door panels are structurally damaged, the door is more than 20 years old with multiple worn components, or the cost of repairs approaches 50% of a new door’s price. For installation inquiries, garage door installation in Longmont is quoted the same way as repair: written price, written scope, photo documentation. If you are deciding between repair and replacement, bring your door’s age, panel condition, and any repair history to the estimate conversation.
Opener repair covers components like the logic board, motor capacitor, trolley carriage, limit switch, and gear assembly; opener replacement is a full new unit. The decision point is usually the age of the opener and the cost of the failed component. A $90 logic board on a five-year-old opener is a repair. A $200 gear and motor assembly on a fifteen-year-old opener is a replacement conversation. We handle both, and garage door opener repair and installation in Longmont is quoted with the same written-price system as everything else we do.
The Bottom Line
Garage door warning signs are readable if you know which component is talking. A bang is a spring. Fraying steel is a cable. A grind is a roller. A lurch is a hinge. A slow January door in Longmont might be nothing more than cold grease, and a reversing door might be a spring announcing that it is nearly done. The difference between a $90 repair and a $700 emergency comes down to whether you act while the symptom is still in Tier 2. Photograph what you can, run the manual test, and call with the evidence in hand. Written prices, documented findings, and a standard that does not ask you to take anything on faith.
Written by Marcus Deller, Owner at Servo Garage Doors Longmont, serving Longmont since 2015.